Do not vape if you do not smoke | The sale of vaping products is prohibited to those under 18 years of age | Vaping helps you live without tobacco and without nicotine dependence
Concentrés Vape City pas chers
There are 2 products.
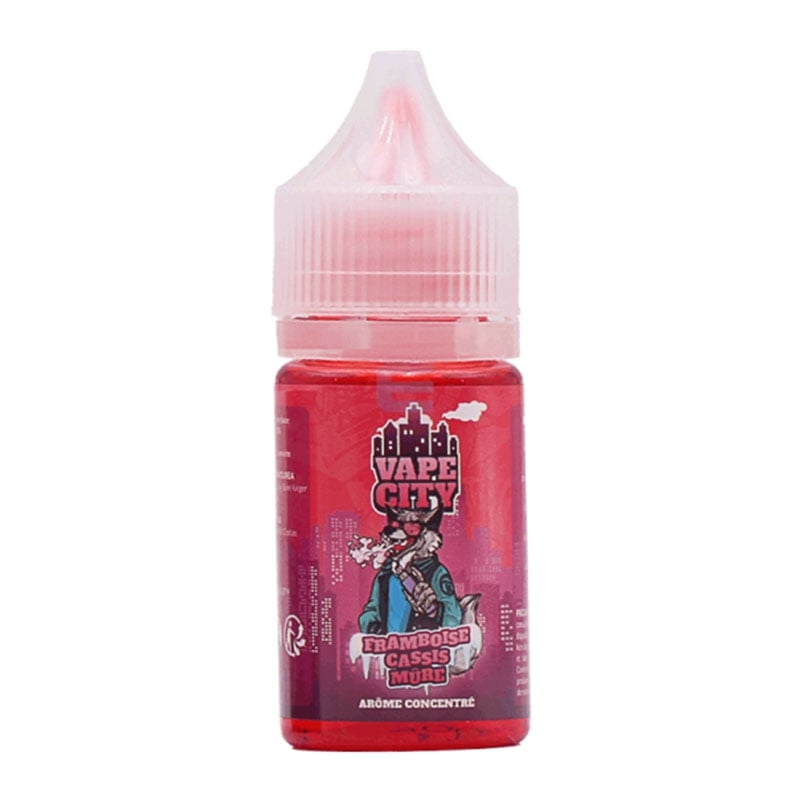
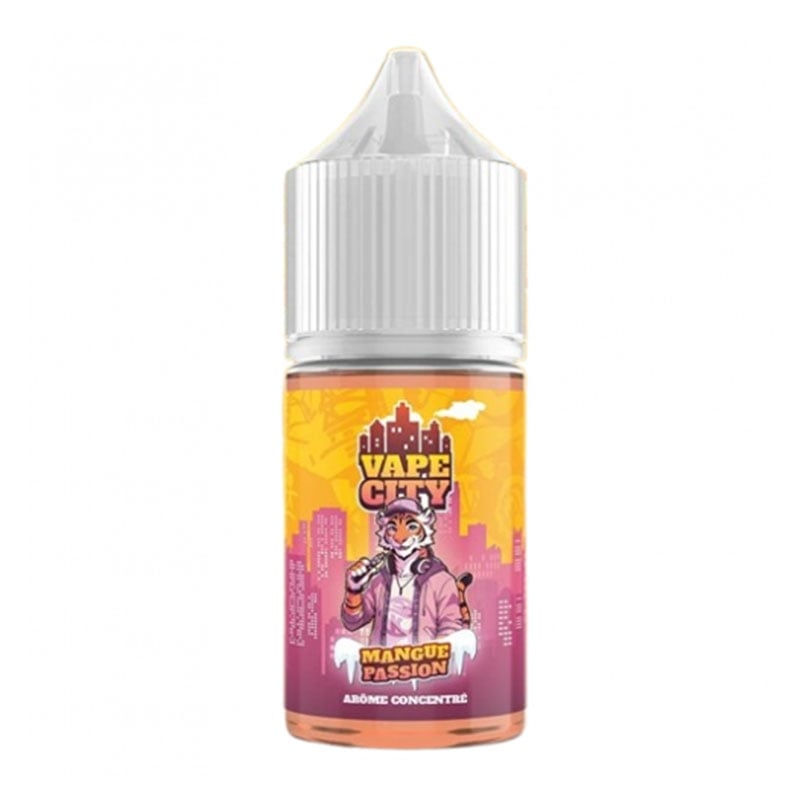
Showing 1-2 of 2 item(s)
FAQ
DIY (Do It Yourself) vaping consists of making your own e-liquid for e-cigarettes from several components: a neutral base, one or more flavourings, optionally additives, and nicotine boosters. This method allows you to create a liquid perfectly tailored to your taste, your equipment, and your nicotine needs at the best price.
DIY is primarily aimed at experienced vapers who already have a good knowledge of vaping and their flavour preferences. It is suited to those who wish to personalise their flavours, precisely adjust their nicotine strength, and make savings in the long term. It is generally not recommended for beginners without guidance.
DIY is significantly cheaper than buying ready-to-use e-liquids. Once the basic equipment has been purchased, the cost per millilitre is greatly reduced. Making 1 litre of DIY e-liquid often costs the same as a few 10 ml commercial bottles, making it an ideal solution for heavy vapers who know their preferences well and are familiar with the basic guidelines for making their recipe successfully.
To create a DIY e-liquid, you will need:
- a neutral base (PG/VG),
- one or more concentrated flavourings,
- nicotine boosters if required,
- accessories such as empty bottles, pipettes, or syringes.
All of these elements are grouped together in the DIY category to make preparation easier.
The DIY base is the carrier of the e-liquid. It is composed of propylene glycol (PG) and vegetable glycerin (VG).
- A PG-rich base enhances the throat hit and flavours. It is suited to MTL equipment;
- A VG-rich base produces more vapour. It is compatible with sub-ohm equipment;
The choice depends on the equipment used and the vaping style desired.
Nicotine shots allow you to add nicotine to a neutral base or a large-format e-liquid. They are dosed at 20 mg/ml and must be handled with care. DIY thus allows you to precisely customise your nicotine level, according to your smoker or vaper profile.
A DIY flavouring is a concentrated flavour intended to be diluted in a base. It should never be vaped neat. Flavourings are available across all families: fruit, mint, dessert, classic, fresh… The recommended dosage depends on the flavouring and the PG/VG ratio used.
Yes, DIY allows you to create your own recipes by combining several flavourings. This is one of the great advantages of this practice. However, it is advisable to remain cautious, to note your dosages, and to start with simple recipes before attempting more complex blends.
Additives allow you to adjust the final result of the e-liquid: adding freshness, sweetness, acidity or enhancing a throat sensation. They are used in very small quantities and must be dosed precisely to avoid unbalancing the recipe.
After mixing, a DIY e-liquid needs a resting period, known as steeping, to allow the flavours to diffuse properly into the base. Depending on the flavours, this time can vary from a few days to several weeks. Respecting this step is essential to achieve an accurate and balanced result. A DIY e-liquid can nevertheless be vaped without a steeping period without any problem. However, the flavour will differ from what is expected.
DIY accessories make the manufacturing process easier: graduated empty bottles, pipettes, syringes, gloves. They allow you to work cleanly, be precise with dosages and store your preparations in good conditions.
Yes, DIY is perfectly suited to nicotine-free vapers. Simply use a neutral base without a booster. This allows you to fully enjoy the flavours whilst keeping costs very low.