Accessoires pour le DIY pas chers

Filter by
Product type
Brand
Capacity
Price
There are 15 products.

DIY Accessories: all the equipment to prepare your e-liquids easily

Making your own e-liquid does not require complex equipment, but a few DIY accessories allow you to gain precision, comfort and cleanliness with every preparation.

Whether you are making your first mix or are already a DIY enthusiast, having the right equipment makes it easier to measure ingredients and minimises liquid waste. Empty bottles, graduated syringes, pipettes or bottles specially designed for mixing e-liquids: each accessory has its purpose.

At Le Vapoteur Discount, find a selection of accessories suited to all DIY preparations, from small recipes to large volumes.

Why use DIY accessories?

DIY involves mixing several ingredients:

  • a neutral base;
  • one or more concentrated flavourings;
  • nicotine boosters if needed;
  • optionally an additive.

Even though this preparation remains straightforward, a few accessories make it possible to measure quantities with greater precision and to work more cleanly.

They offer several advantages in particular:

  • more precise dosing;
  • less waste;
  • faster preparation;
  • better comfort of use;
  • more convenient storage of recipes.

Whether you are preparing 30 ml or several hundred millilitres of e-liquid, accessories quickly become indispensable.

DIY bottles: the essential accessory

The empty bottle is probably the most widely used accessory in DIY.

It allows you to make the mix, let your recipe steep, and then easily transport your e-liquid.

Depending on your habits, several models are available.

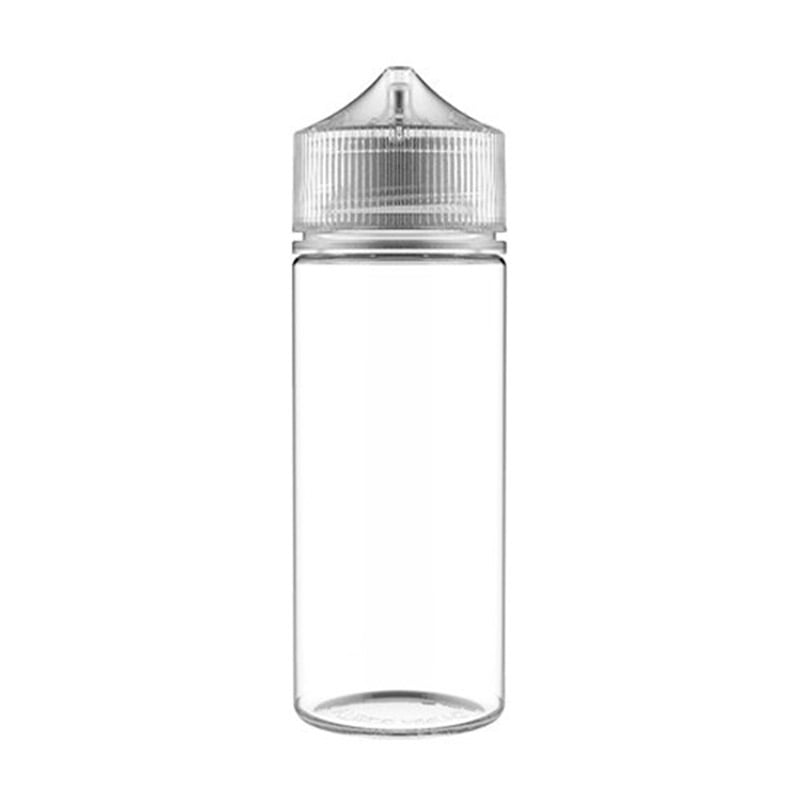
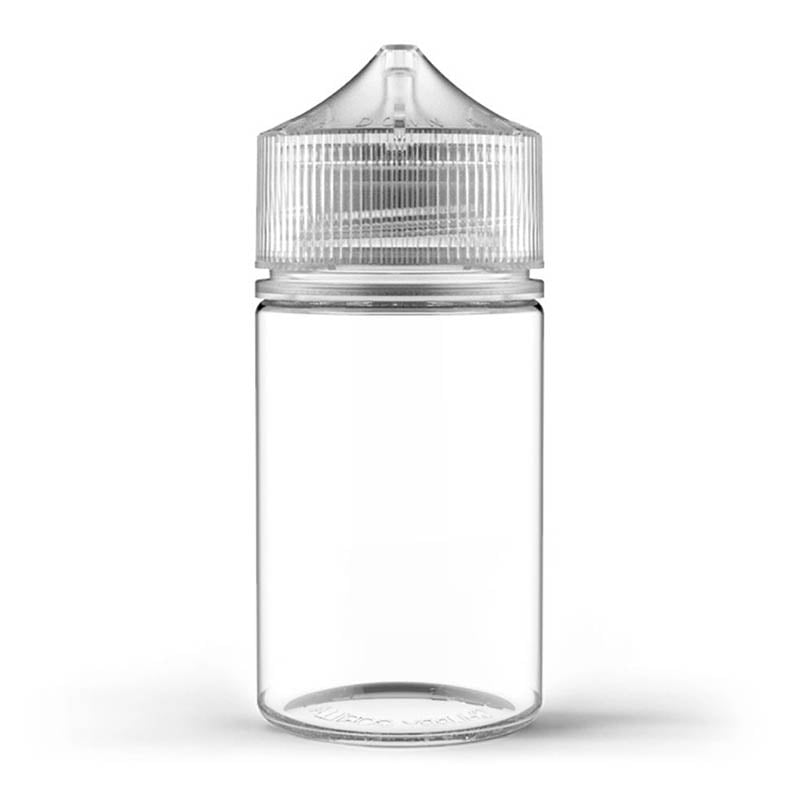
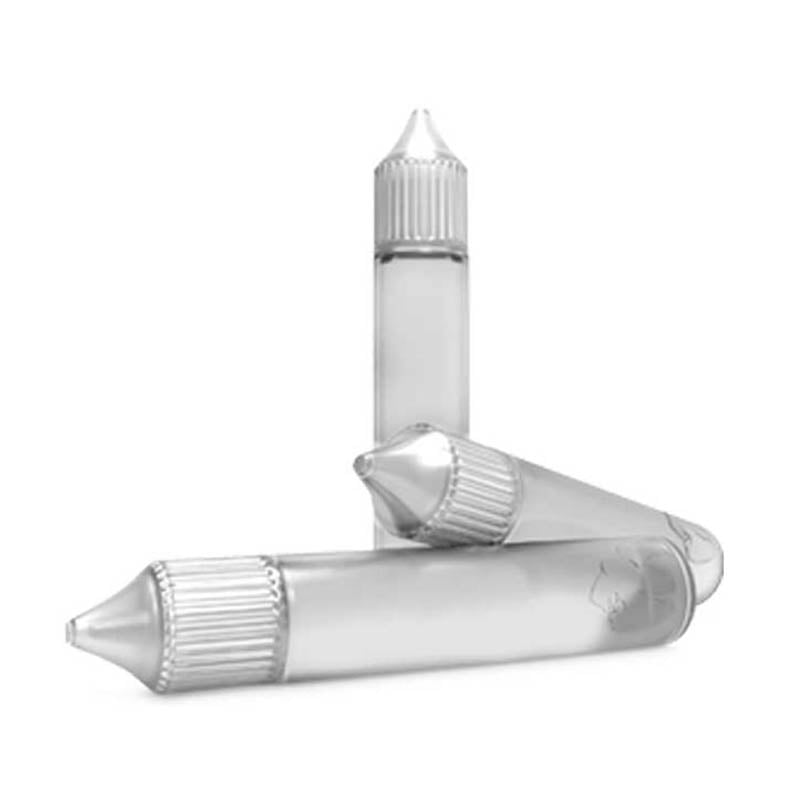
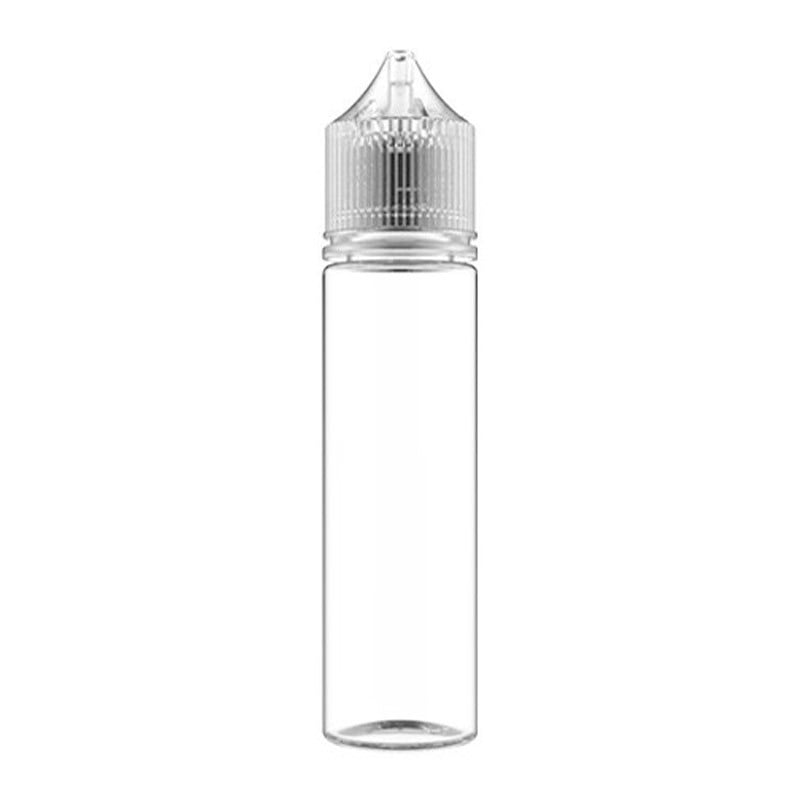
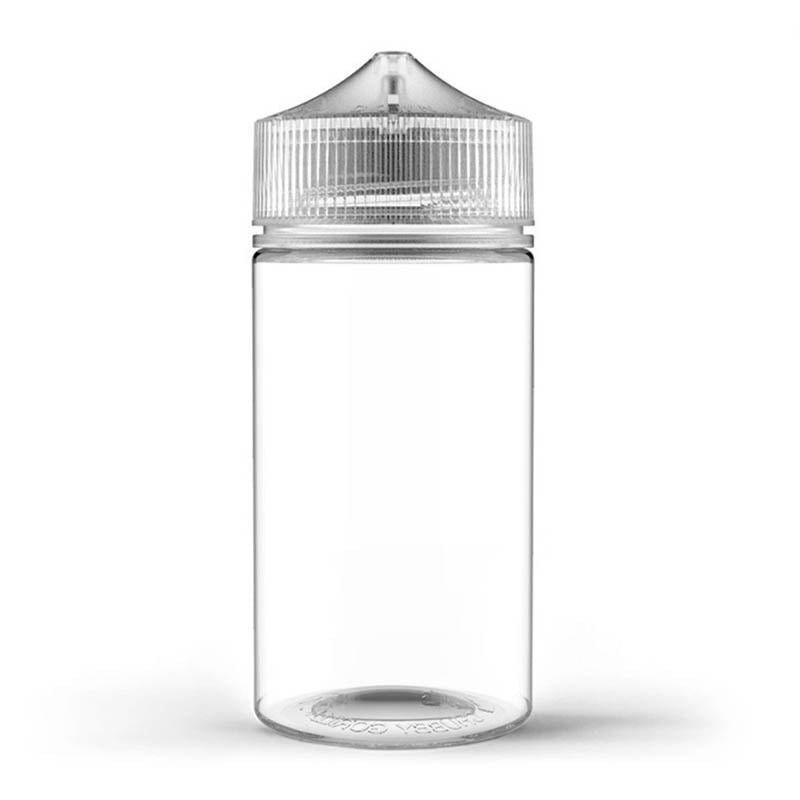
The Chubby Gorilla bottle

Very popular among vapers, the Chubby Gorilla bottle stands out for its robustness and ease of use.

Its flexible plastic makes it easy to fill e-cigarette tanks, while its secure cap reduces the risk of leaks.

Available in different sizes, it is suitable for both small and large preparations.

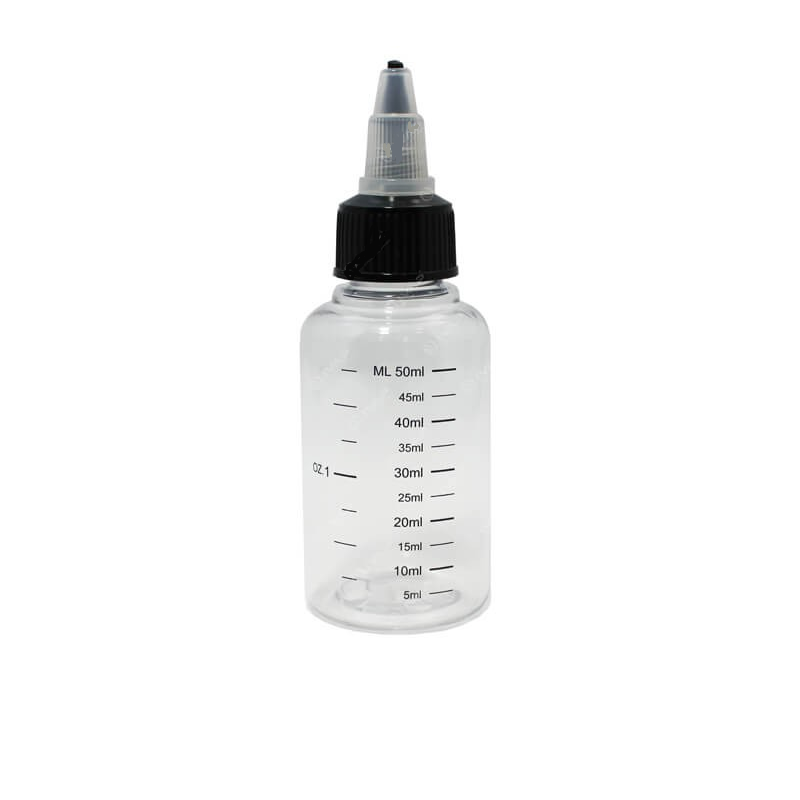
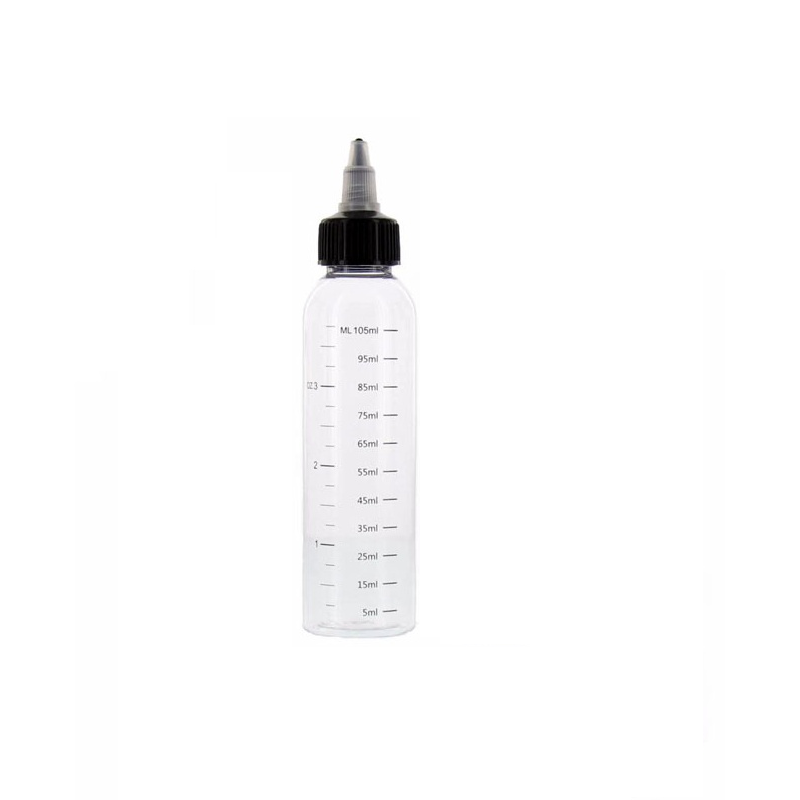
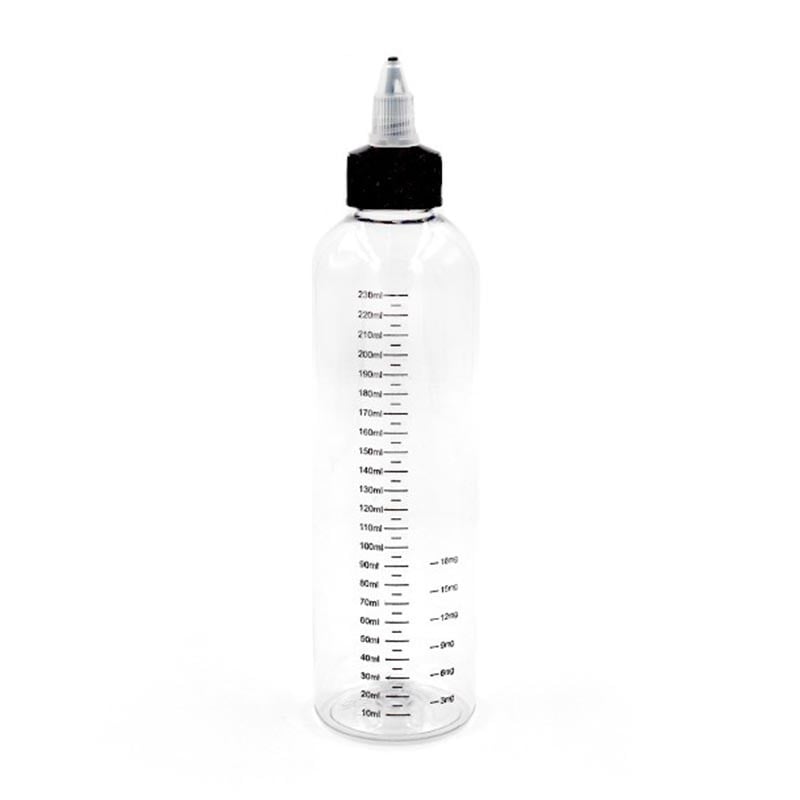
The Twist bottle

The Twist bottle has a fine-tipped cap that makes it easy to fill clearomisers and pods.

It is particularly appreciated for:

  • carry your e-liquid every day;
  • easily fill small tanks;
  • precisely dose the liquid.

Its compact format also makes it an excellent choice for taking a recipe with you when travelling.

The Dual Fill bottle

The Dual Fill bottle considerably simplifies the preparation of DIY e-liquids.

Thanks to its practical opening system, it makes it easy to add the various ingredients without completely removing the pouring tip.

This type of bottle is particularly appreciated for preparations containing several components.

Graduated or non-graduated bottle: which one to choose?

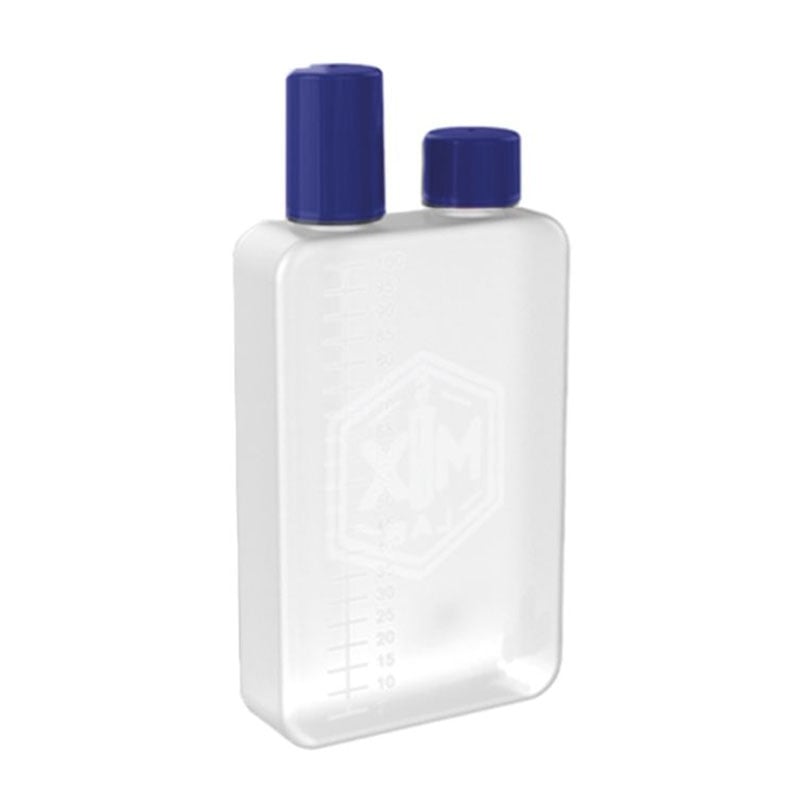
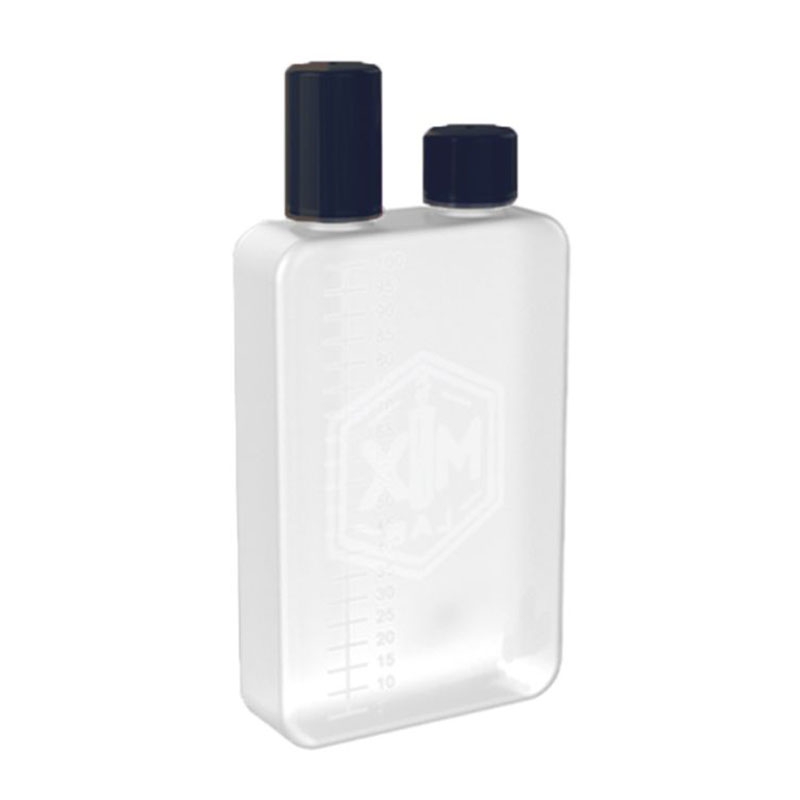
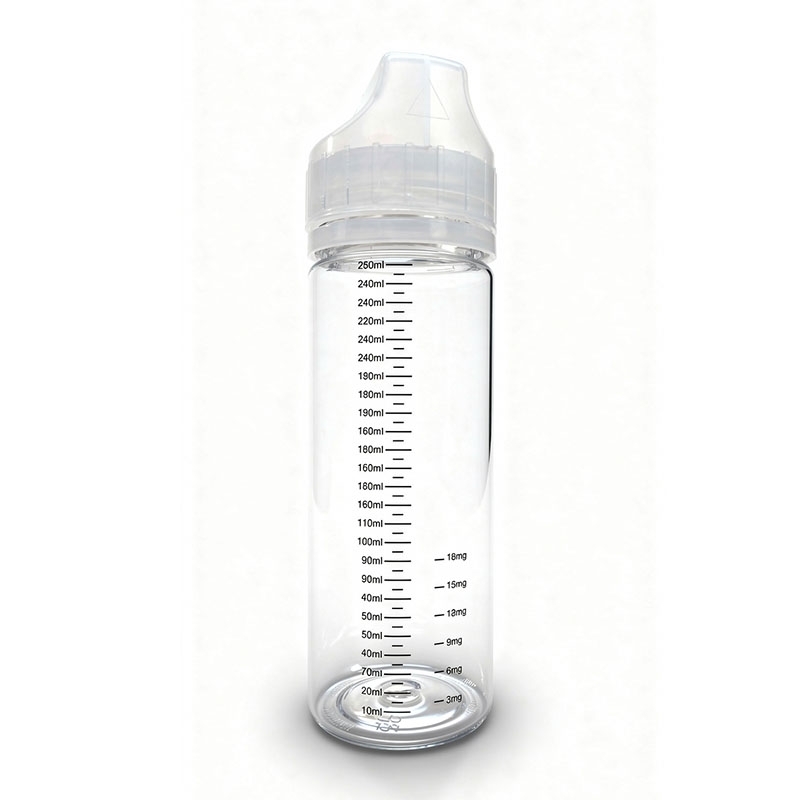
Some bottles have graduation markings printed directly on their side.

These markings make dosing easier, especially when preparing several recipes.

Graduated bottle Non-graduated bottle
Quick volume measurement Cleaner design
Ideal for DIY Perfectly suited for transport
Limits dosing errors Can be used with a syringe or a pipette

Both solutions allow quality preparations to be achieved. The choice depends mainly on your habits.

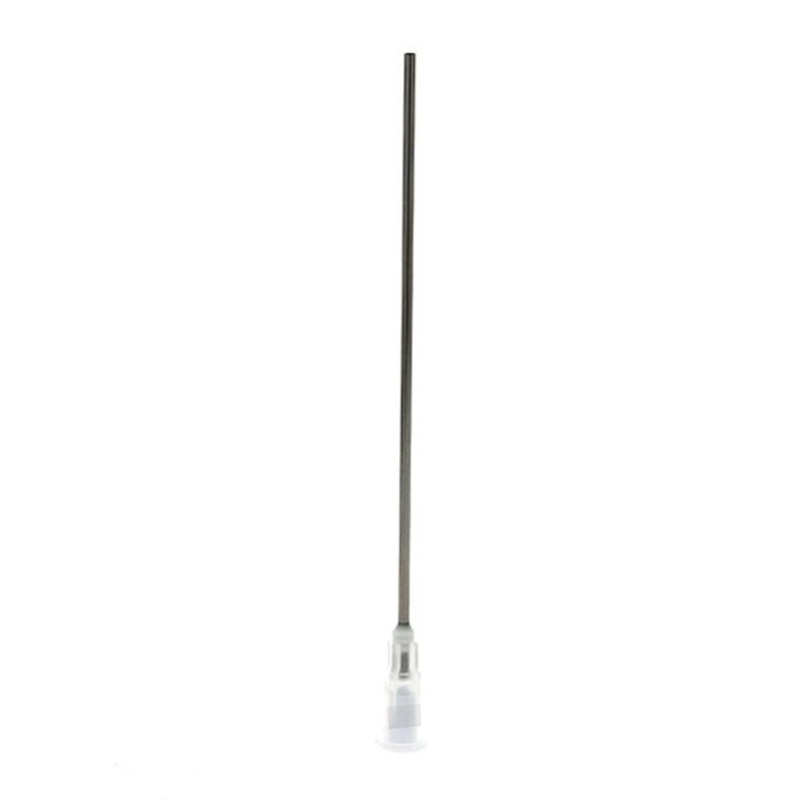
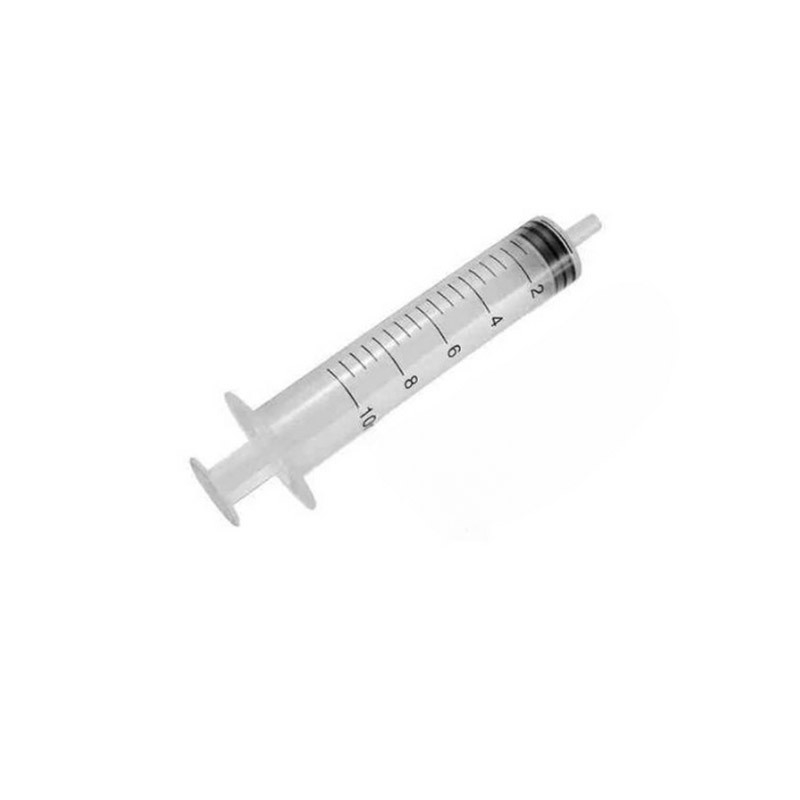
Graduated syringes: for precise dosing

Some recipes require precisely measuring a few millilitres of flavouring or additive.

Graduated syringes offer excellent precision, especially when dosages are very low.

They allow you to:

  • accurately measure concentrated flavourings;
  • dose the additives;
  • transfer a liquid without losing any.

After use, it is advisable to clean the syringe to prevent flavours from mixing between two preparations.

Graduated pipettes

Graduated pipettes are a simple and practical alternative to syringes.

Their use is particularly suited to small volumes and last-minute adjustments.

They make it easy to draw up a few drops of flavouring or additive without making a mess of the work surface.

For vapers who enjoy experimenting with different recipes, pipettes quickly become an indispensable accessory.

Which accessory to choose according to your needs?

Your need Recommended accessory
Preparing an e-liquid Chubby Gorilla or Dual Fill bottle
Precisely measuring a flavouring Graduated syringe
Add a few drops Graduated pipette
Transporting your e-liquid Twist bottle
Making several recipes Graduated bottles in various sizes

With a few well-chosen accessories, preparing an e-liquid becomes simpler and more enjoyable.

How do you achieve a successful DIY mix?

A few good habits help achieve consistent preparations.

Before you start:

  • prepare all your ingredients;
  • use a clean bottle;
  • measure each component with precision;
  • close bottles after use;
  • shake your preparation vigorously once mixing is complete.

If your recipe contains complex flavourings, also remember to observe the steeping time recommended by the manufacturer.

Maintaining your DIY accessories properly

Regular maintenance helps extend the lifespan of your equipment and prevents flavours from mixing.

After each use:

  • rinse syringes and pipettes with lukewarm water;
  • allow them to dry completely before reusing them;
  • clean bottles when changing recipes;
  • replace accessories showing signs of wear.

Clean accessories help preserve the full quality of your DIY preparations.

Are DIY accessories essential?

It is possible to make an e-liquid with limited equipment, but accessories make the preparation much simpler and more precise.

They allow in particular:

  • reduce dosing errors;
  • work more cleanly;
  • easily store your recipes;
  • prepare several e-liquids in good conditions.

For vapers who regularly make their own e-liquids, they quickly become everyday essentials.

Discover all our DIY accessories

Whether you are looking for a Chubby Gorilla bottle, a Twist bottle, a Dual Fill bottle, a graduated syringe or a pipette to prepare your recipes, Le Vapoteur Discount provides you with all the equipment needed to achieve your DIY mixes.

Combined with a neutral base, a concentrated flavouring, nicotine boosters and, if you wish, additives, these accessories allow you to make your e-liquids with precision and comfort. Whether you are making a small preparation or several hundred millilitres, having the right equipment simplifies every step of your DIY and helps you easily reproduce your favourite recipes.

FAQ

DIY (Do It Yourself) in vaping involves making your own e-liquid for an e-cigarette from several components: a neutral base, one or more flavourings, optionally additives, and nicotine boosters. This method allows you to create a liquid perfectly tailored to your tastes, your equipment, and your nicotine needs at the best price.

DIY is primarily aimed at experienced vapers who already have a good knowledge of vaping and their flavour preferences. It is suited to those who wish to customise their flavours, precisely adjust their nicotine level, and save money in the long term. It is generally not recommended for beginners without guidance.

DIY is significantly cheaper than buying ready-made e-liquids. Once the basic equipment has been acquired, the cost per millilitre is greatly reduced. Making 1 litre of DIY e-liquid often costs the same as a few 10 ml commercial bottles, making it an ideal solution for heavy vapers who know their preferences well and understand the basic guidelines for making their recipe successfully.

To create a DIY e-liquid, you will need:

  • a neutral base (PG/VG),
  • one or more concentrated flavourings,
  • nicotine boosters if needed,
  • accessories such as empty bottles, pipettes or syringes.

All these elements are grouped together in the DIY category to make preparation easier.

The DIY base is the foundation of the e-liquid. It is composed of propylene glycol (PG) and vegetable glycerine (VG).

  • A PG-rich base enhances the throat hit and flavours. It is suited to MTL equipment;
  • A VG-rich base produces more vapour. It will be compatible with sub-ohm equipment;

The choice depends on the equipment used and the vaping style desired.

Nicotine boosters allow you to add nicotine to a neutral base or a large-format e-liquid. They are dosed at 20 mg/ml and must be handled with care. DIY therefore allows you to precisely customise your nicotine level according to your smoker or vaper profile.

A DIY flavouring is a concentrated flavour intended to be diluted in a base. It is never vaped on its own. Flavourings are available in all families: fruits, mint, dessert, classic, fresh… The recommended dosage depends on the flavouring and the PG/VG ratio used.

Yes, DIY allows you to create your own recipes by combining several flavourings. This is one of the great advantages of this practice. However, it is advisable to remain careful, note your dosages, and start with simple recipes before venturing into complex blends.

Additives allow you to adjust the final result of the e-liquid: adding freshness, sweetness, acidity, or enhancing a throat sensation. They are used in very small quantities and must be dosed precisely to avoid unbalancing the recipe.

After mixing, a DIY e-liquid needs a resting period, called steeping, to allow the flavours to properly diffuse into the base. Depending on the flavours, this time can vary from a few days to several weeks. Following this step is essential to achieve a faithful and balanced result. A DIY e-liquid can nevertheless be vaped without a steeping period without any issue. However, the flavour will differ from what is expected.

DIY accessories make production easier: graduated empty bottles, pipettes, syringes, and gloves. They allow you to work cleanly, be precise with dosages, and store your preparations in good conditions.

Yes, DIY is perfectly suited to nicotine-free vapers. Simply use a neutral base without a booster. This allows you to fully enjoy the flavours while keeping costs very low.